
DIY & Crafts
DIY Wall Organizer for Hair Clips, Barrettes and Headbands
DIY Wall Organizer for Hair Clips, Barrettes and Headbands
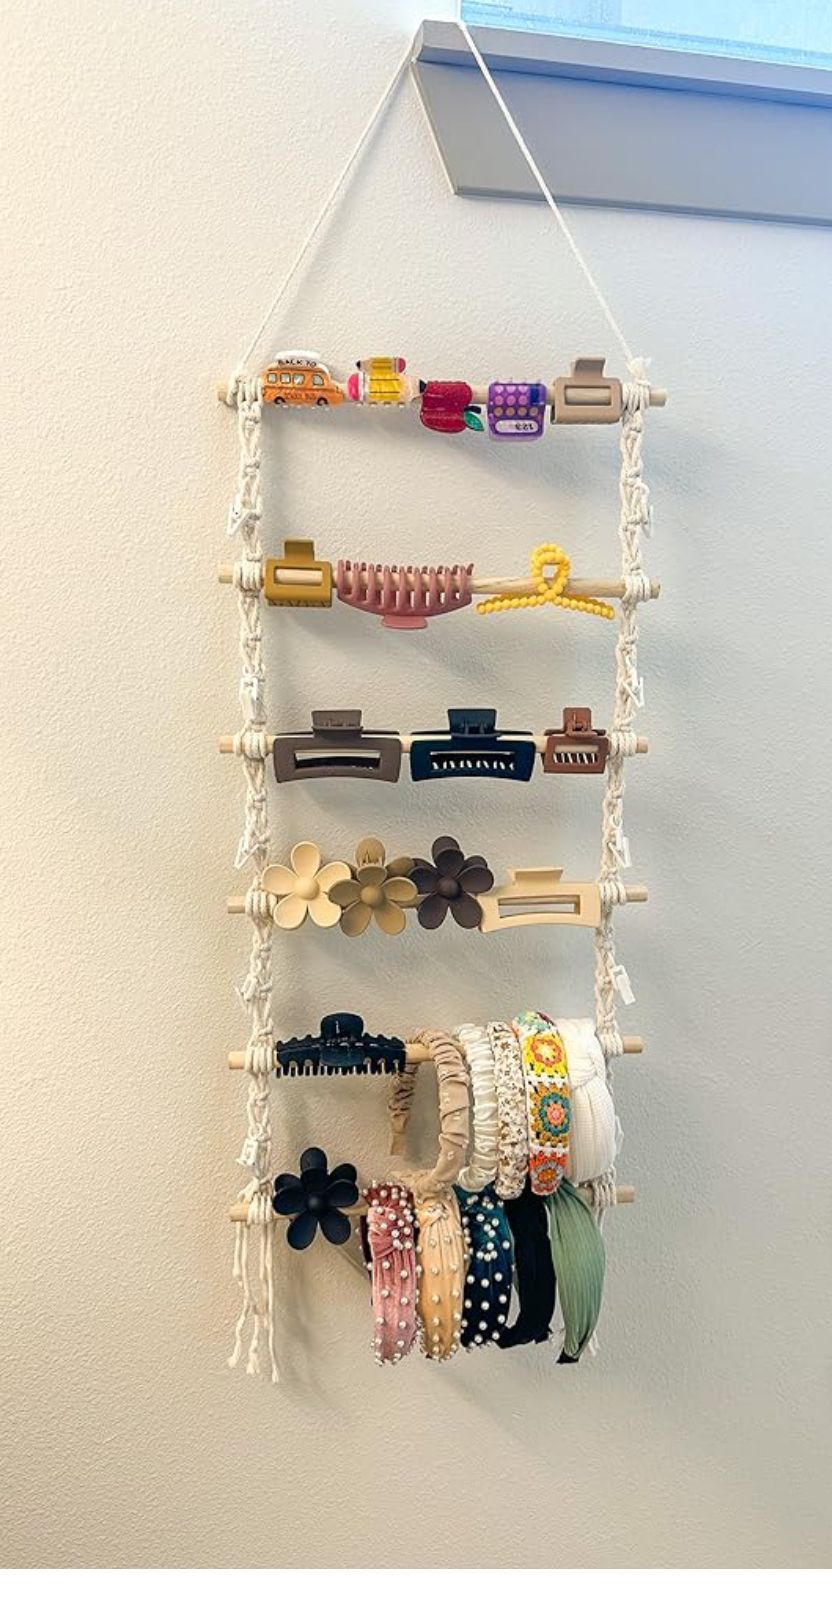
Hair accessories can quickly become messy when they are tossed into drawers or baskets. The image shows a clever hanging organizer made with wooden dowels and cord, displaying clips, barrettes, combs, scrunchies, and headbands in a neat vertical layout.
Why a Wall Organizer Works
A wall organizer keeps accessories visible and easy to reach. Instead of digging through a drawer, you can see every clip and headband at once. It also doubles as room decor when the accessories are arranged by color or style.
Materials Needed
Use wooden dowels, cotton cord or macrame rope, scissors, a ruler, and a hook for hanging. You can also add decorative knots, beads, or painted dowels to match your room.
How to Build It
Cut several dowels to the same length. Tie the rope around the ends of each dowel, spacing them evenly from top to bottom. Create a hanging loop at the top. Once the frame is secure, clip barrettes onto the dowels and slide headbands over the lower rods.
Organization Tips
Place small clips near the top, larger claw clips in the middle, and headbands or scrunchies near the bottom. Grouping items by type makes the organizer easier to use every day.
Style Ideas
For a boho look, use natural cotton rope and unfinished wood. For a playful room, paint the dowels pastel colors. For a minimalist style, keep the design neutral and symmetrical.
Final Thoughts
A DIY hair accessory organizer is simple, inexpensive, and surprisingly useful. It turns clutter into display-worthy storage and makes daily styling much easier.